
Accidentally leaving a security tag on a new piece of clothing is frustrating, especially if you’ve already left the store. While it’s best to return to the store to have the tag professionally removed, sometimes that’s not an option. Luckily, there are several ways to remove a security tag from clothing at home, but each method depends on the type of tag and your available tools.
This guide will walk you through different methods for removing security tags safely, step-by-step, and highlight the risks associated with doing so.
Table of Contents
Understanding Security Tags
Types of Security Tags
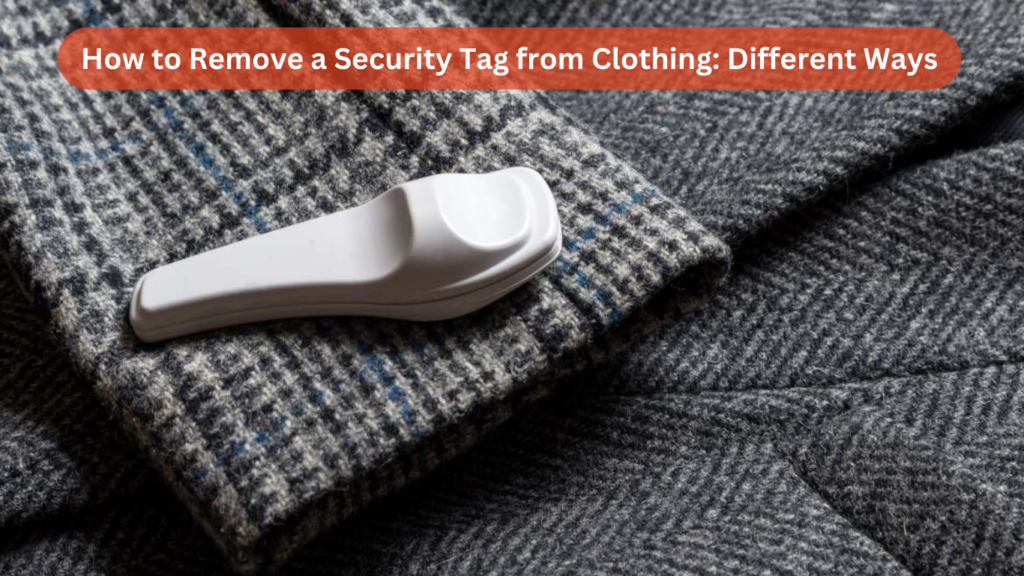
Security tags are devices attached to clothing to prevent theft. They often trigger alarms at the store’s exit if they are not removed at checkout. The two main types of security tags are:
- Ink Tags
These tags contain a vial of ink that will spill onto the garment if the tag is tampered with, making the item unsellable or unwearable. - Magnetic Tags
These tags contain a strong magnet that holds a pin in place. When removed using a magnetic detacher, the pin is released, allowing the tag to be separated from the garment.
Before You Start: Safety Considerations
Before attempting to remove a security tag, it’s important to be cautious:
- Risk of Damage: Some methods can damage your clothing if not done carefully.
- Ink Tags: If you attempt to remove an ink tag improperly, the ink may leak, permanently staining your clothes.
- Legal Considerations: Removing a security tag should only be done if the tag was left on by mistake after a legitimate purchase.
Different Ways to Remove a Security Tag
Method 1: Use a Strong Magnet (For Magnetic Tags)
Magnetic tags are most common in stores and can be removed using a strong magnet. Here’s how:
Step-by-Step Instructions:
- Find a Strong Magnet
Look for a neodymium magnet, which is strong enough to disengage the pin mechanism inside the security tag. These magnets can be found in hardware stores or taken from items like old hard drives. - Position the Magnet
Lay the magnet on a flat surface and place the security tag on top, with the flat side of the tag facing the magnet. Move the tag around slightly to locate the internal mechanism. - Remove the Pin
Once the magnet has disengaged the locking mechanism, you should be able to pull the pin out of the tag easily. - Separate the Tag
After removing the pin, the rest of the tag will come apart, and you can remove it from your clothing.
Pros:
- Effective for most magnetic tags.
- Quick and easy with the right tool.
Cons:
- Requires a strong magnet, which may not be readily available in most households.
- Not effective for ink tags.
Method 2: Use Pliers (For Magnetic and Ink Tags)
If you don’t have access to a strong magnet, you can use a pair of pliers to forcibly remove the tag.
Step-by-Step Instructions:
- Prepare the Area
Lay the garment flat on a table and make sure it’s stable so you can work with both hands. - Grip the Tag
Use pliers to grip one side of the security tag. Make sure you’re holding the part that houses the pin. - Twist the Tag
Using a second pair of pliers or a strong hand, grip the other side of the tag. Twist in opposite directions to loosen the plastic casing. - Remove the Pin
Once the casing has cracked or loosened, pull out the pin using the pliers. The tag will come apart, allowing you to remove it.
Pros:
- Can be done with common household tools.
- Effective on both magnetic and ink tags.
Cons:
- Risk of damaging your clothing.
- Not always effective for ink tags, as twisting too hard may break the ink vial.
Method 3: Freeze the Tag (For Ink Tags)
Ink tags are designed to explode if tampered with, but freezing the tag can solidify the ink, reducing the risk of leakage.
Step-by-Step Instructions:
- Place the Item in the Freezer
Put the item of clothing with the security tag attached into a plastic bag to protect it from moisture and freeze it for at least one hour. - Remove the Tag
Once frozen, take the clothing out of the freezer. Use a pair of pliers to twist and pry the tag apart, just like in the previous method. - Remove the Pin
Carefully pull out the pin and remove the tag. Since the ink is frozen, it should be less likely to spill.
Pros:
- Safer for ink tags than using force.
- Can be done with no specialized tools.
Cons:
- Takes time to freeze the tag.
- There’s still a risk of ink leakage if the tag thaws quickly.
Method 4: Burn the Tag (For Ink Tags)
This method involves using fire to melt the plastic surrounding the tag’s pin. It’s risky, so use extreme caution.
Step-by-Step Instructions:
- Prepare a Heat Source
Use a lighter or candle to create a small flame. - Heat the Tag
Hold the flat side of the security tag over the flame for 10-20 seconds, just long enough to soften the plastic but not long enough to burn the clothing. - Pry the Tag Apart
Once the plastic has softened, use pliers or a screwdriver to pry open the casing and remove the pin.
Pros:
- Effective on both ink and magnetic tags.
Cons:
- Very risky; can easily damage the clothing.
- The heat may cause the ink to spill or the plastic to melt.
Method 5: Use Rubber Bands (For Magnetic Tags)
This is a less common but safe method for magnetic tags, using the resistance of a rubber band to release the pin.
Step-by-Step Instructions:
- Secure the Garment
Lay the garment flat, and stretch a thick rubber band around the security tag’s pin. - Twist the Tag
Hold the larger part of the tag with one hand while twisting the smaller, circular part with the other. - Remove the Tag
The rubber band will provide resistance, and as you twist, the tag will loosen, allowing the pin to pop out.
Pros:
- Low risk of damaging clothing.
- Works for many magnetic tags.
Cons:
- Not effective for ink tags.
- Requires a sturdy rubber band.
Method 6: Use a Screwdriver (For Magnetic Tags)
A flathead screwdriver can be used to pry apart a magnetic security tag.
Step-by-Step Instructions:
- Wedge the Screwdriver
Insert the flathead screwdriver between the plastic parts of the tag, near the pin mechanism. - Pry Apart the Tag
Twist the screwdriver to pry the tag apart. Be gentle to avoid damaging the clothing. - Remove the Pin
Once the plastic casing is loose, remove the pin and pull the tag apart.
Pros:
- Easy to do with household tools.
- Low risk of damaging the clothing if done carefully.
Cons:
- Not effective for ink tags.
- Can damage the clothing if done too forcefully.
Common Mistakes to Avoid
1. Forcing the Ink Tag
Never attempt to break or smash an ink tag without taking precautions, like freezing it first. The ink inside can ruin your clothing.
2. Using the Wrong Tools
Using sharp tools or knives can result in injury or damage to the garment. Stick to pliers, magnets, or screwdrivers when attempting to remove the tag.
3. Not Testing on Old Clothes
If you’re unsure about a method, try it on an old piece of fabric first. This will help you avoid ruining a brand-new garment.
Conclusion
Removing a security tag from clothing can be done safely at home using the right methods and tools. Whether you’re dealing with a magnetic or ink tag, using household items like pliers, screwdrivers, or even a strong magnet can help you free your clothing from the tag without damage.
While it’s always best to return to the store for professional removal, these methods offer safe alternatives if that’s not possible. Just be cautious, especially when dealing with ink tags, and always test the method on an inconspicuous area before proceeding.